
Nginx 搭建下载站
好困啊...睡醒了再写吧...zzz
睡醒了,开写!
当我们的网站需要提供下载多文件服务时,手写下载链接是非常麻烦的。
启用 Autoindex 选项
Nginx 的 autoindex 配置在没有找到索引的 html 文件时,会直接遍历目录下的所有文件,将其转换为含下载链接的 html 文件发送给客户端。
在 nginx.conf 中配置以下板块:
txt
http {
    server{

        listen 80;
        server_name localhost;

        location / {

            root /home/fovlin;
            autoindex on;
            autoindex_exact_size off;

        }
    }
}
其中 autoindex on; 表示开启自动索引功能,autoindex_exact_size off; 表示关闭精确显示,以 MB 和 GB 单位显示文件大小。
随后访问网站即可看到以下内容:
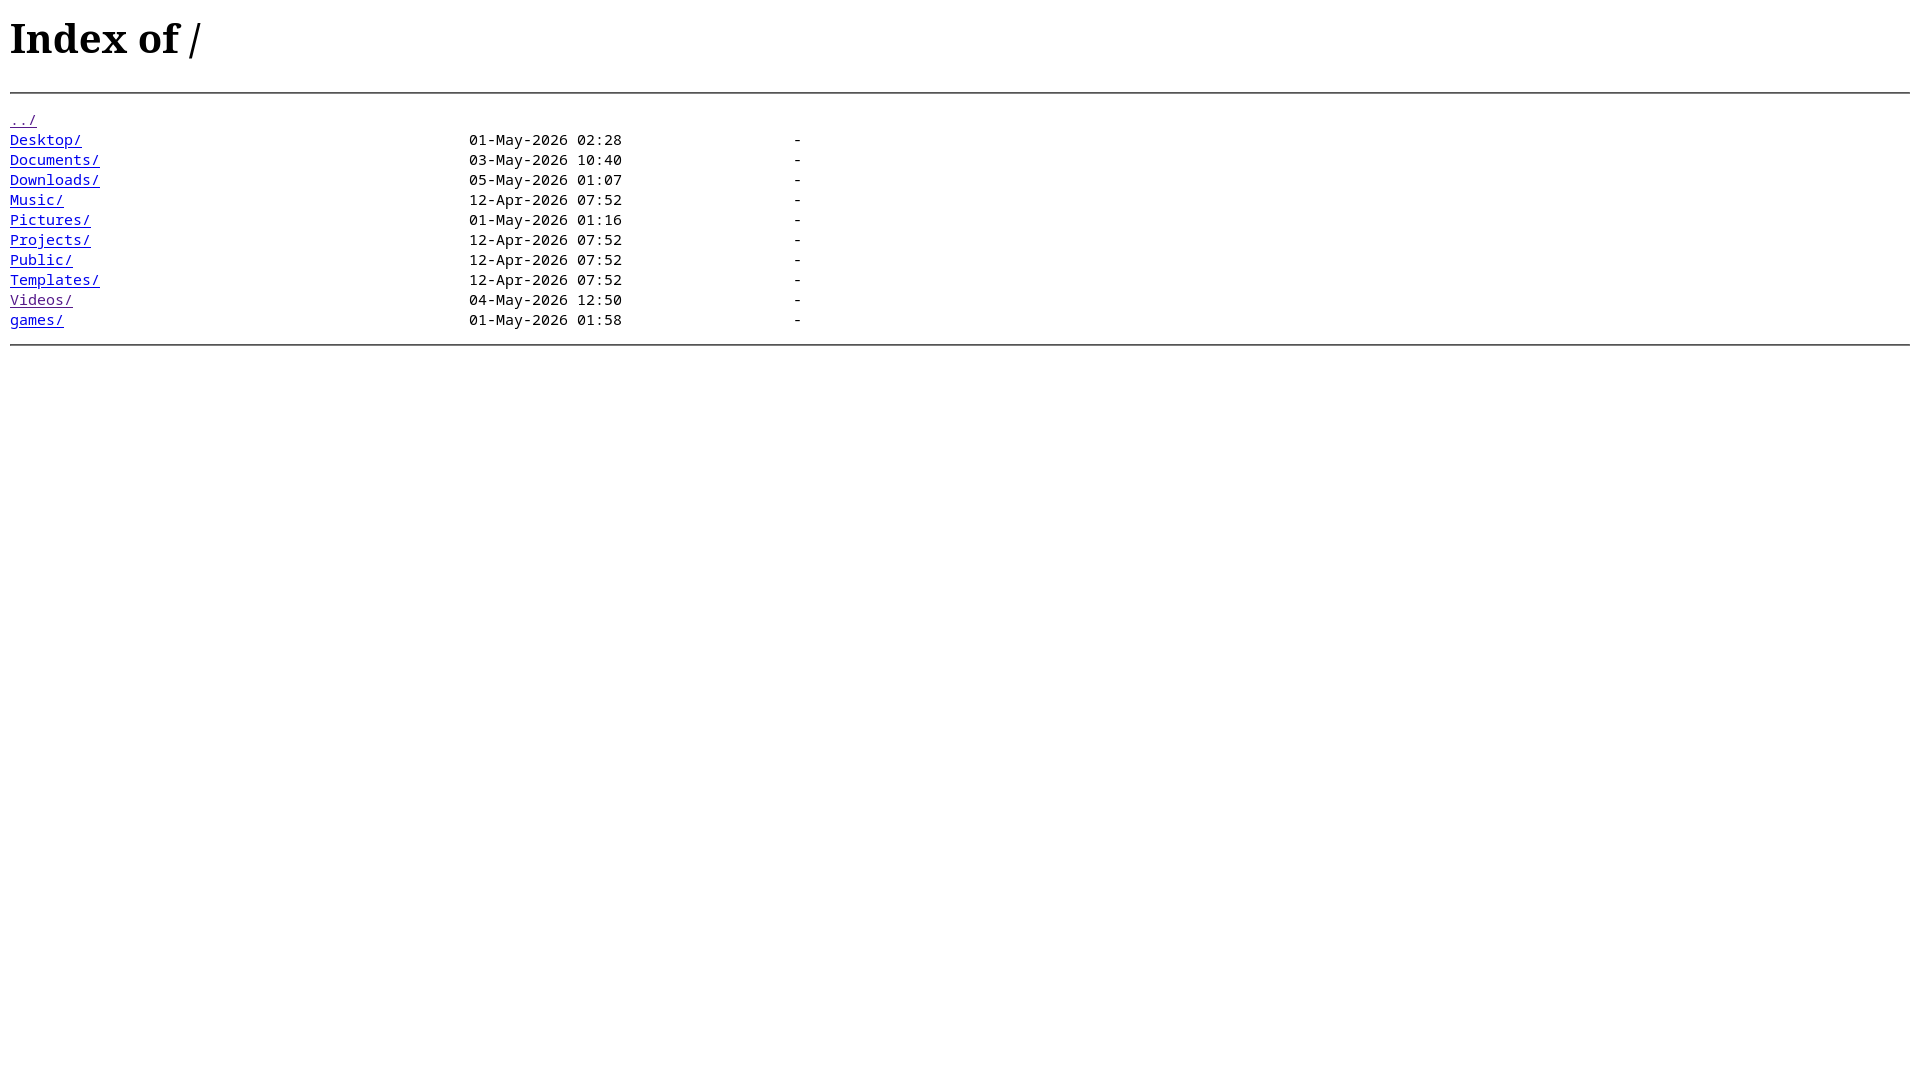
autoindex 不会显示以
.开头的文件,可以以此隐藏想要隐藏的文件,但仍然可以通过 URL 访问。
Autoindex 页面美化
但是默认页面浇较丑,这是 Nginx 内置模块在接受客户端请求时自动生成的页面,无法直接通过 html 改变布局,改变外观通常有以下 2 种方法。
使用 add_before_body 或 add_after_body 进行美化
但可以间接使用 add_before_body 在头部或使用 add_after_body 添加含有 <style> 标签的空 html 文件实现自定义。
该功能依赖 ngx_http_addition_module 模块,需要重新配置编译选项,配置时候添加参数 --with-http_addition_module,并重新安装,随后停止并重新启动 nginx。
在要启用 autoindex 的页面配置板块根目录或子目录下创建一个 html 文件,以 /.autoindex.html 为例,并在配置文件写入以下配置:
txt
http {
    server{

        listen 80;
        server_name localhost;

        location / {

            root /home/fovlin;
            autoindex on;
            autoindex_exact_size off;
            add_before_body /.autoindex.html # <--此处

        }
    }
}
重载 nginx:
bash
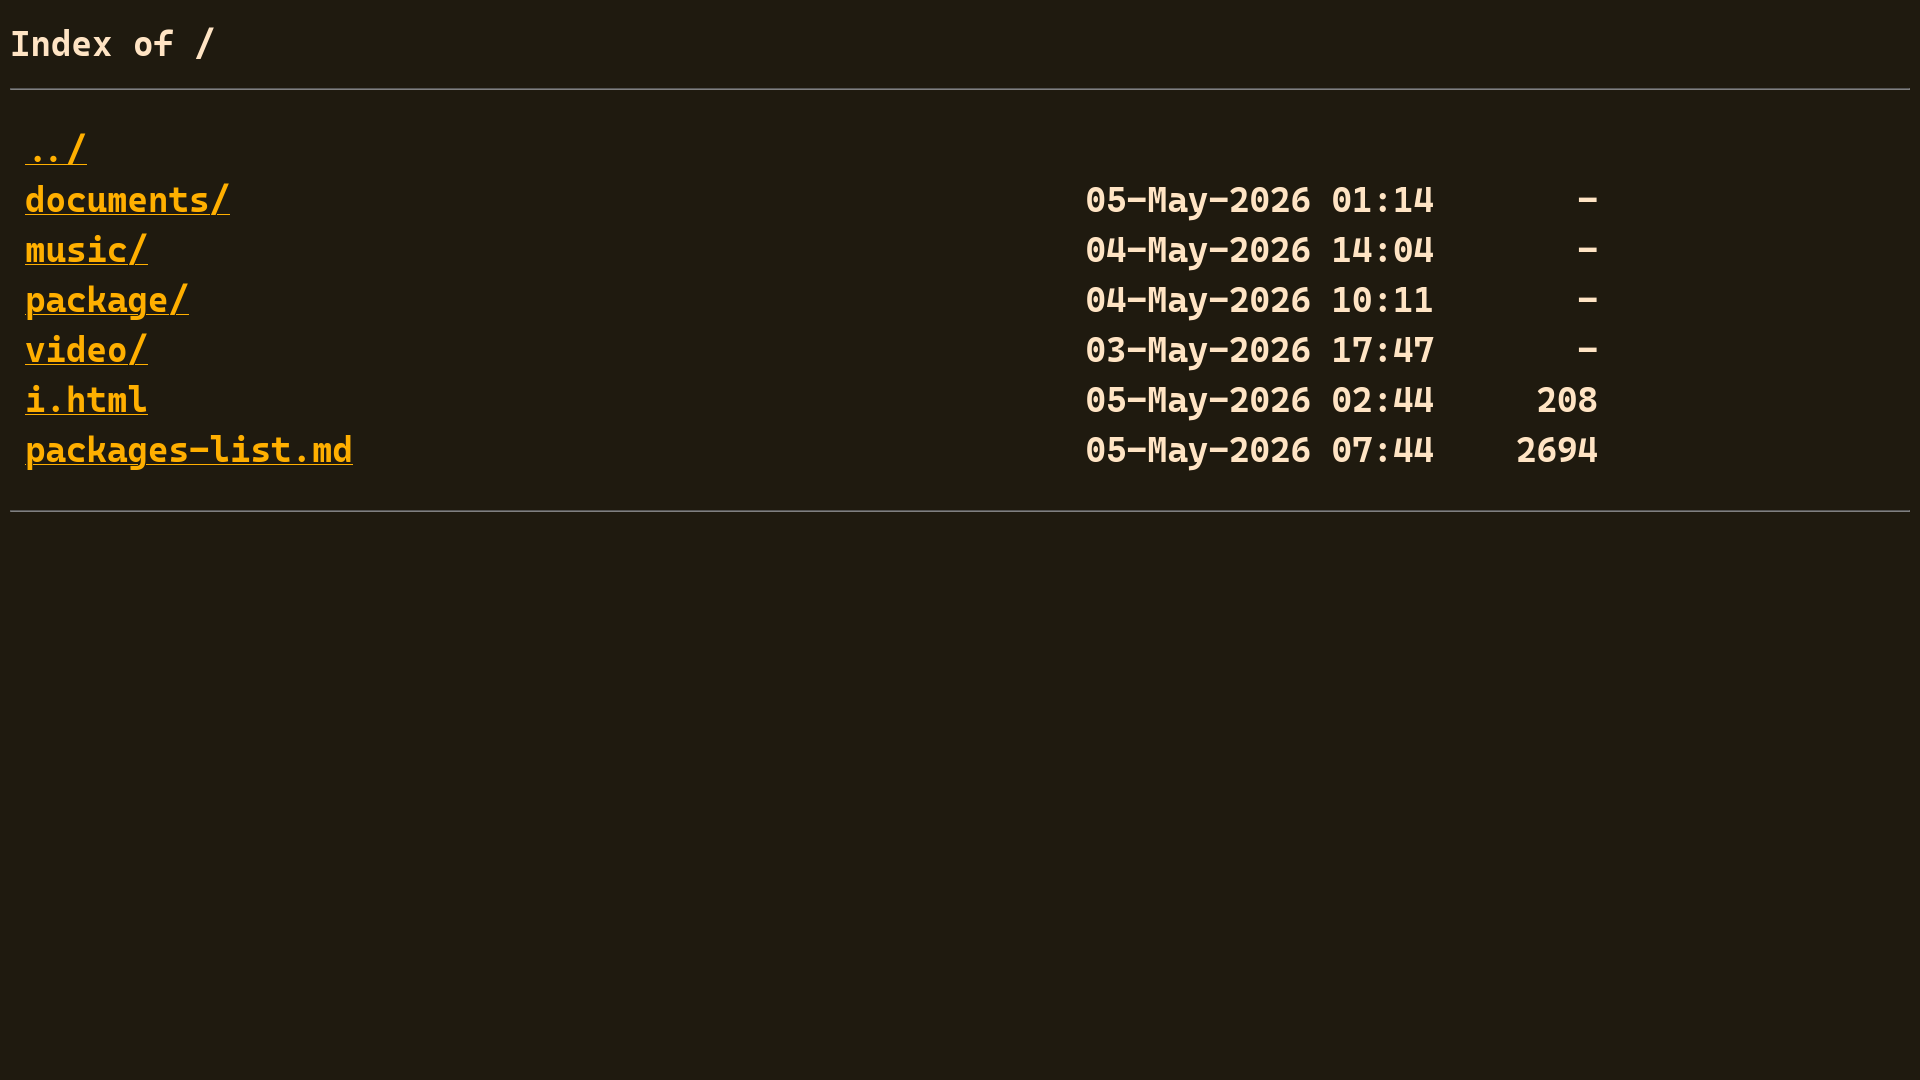
sudo nginx -s reload随后在 .autoindex.html 写入包含 CSS 样式的 <style> 标签
html
<style>
pre {
    line-height: 32px;
}

a {
    color: #ffaf00;
    font-size: 20px;
    padding: 0px 12px;
}

a:hover {
    color:#ff00af;
}

h1 {
    font-size:22px;
}

html,body {
    color: bisque;
    background: #1f1a0f;
    font-size: 20px;
    font-weight: bold;
    font-family: 'Cascadia code','menlo';
}
回到页面刷新后可以看到以下效果:
使用 fancyindex 开源项目进行美化
项目地址:Fancyindex